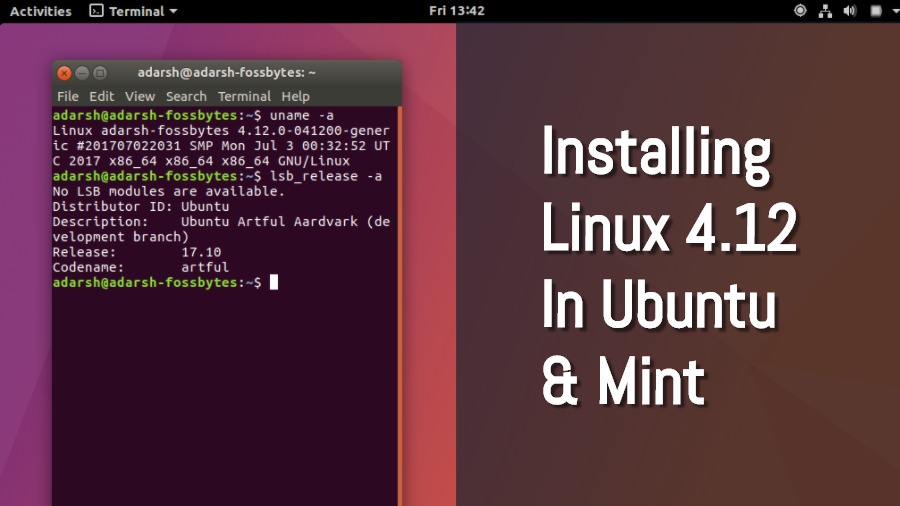
Short Bytes: Linux kernel 4.12, which was released on July 2nd, 2017, brought along many hardware improvements. If you are willing to try out those improvements, you can install Linux kernel 4.12 in Ubuntu or Linux Mint. You can either use Terminal to download .deb packages and install them manually or you can use Ukuu utility for a hassle-less experience.
On July 2nd, Linus Torvalds announced the release of the latest Linux kernel 4.12. In terms of commits and lines of code added, kernel 4.12 is a pretty big release. As a result, the total number of lines of code in Linux kernel is now 24.2 million.
Some of the important features in Linux kernel 4.12 are initial support for initial AMD’s Vega GPUs, along with NVIDIA GTX 1000 Pascal accelerate support. This release also introduced two new I/O schedulers. You can read more about this release in this dedicated article.
Having said that, we should now move on to the upgrade part and tell you how to install Linux kernel 4.12 on Ubuntu Linux, Linux Mint, and other Ubuntu flavors and derivates. For this, I’ll be describing two methods. Let’s tell you about them one by one:
Installing Linux kernel 4.12 on Ubuntu & Mint
Method 1: Installing kernel 4.12 using Ukuu utility
Installing or upgrading to a new Linux kernel isn’t an easy task for a Linux beginner. As upgrading to a newer Linux kernel ensures better hardware support and improved security, nobody should be deprived of doing that.
For making this easier for all, I’ve already written an article on how to upgrade Linux kernel using Ukuu utility. You can follow the instructions given there to install Ukuu on your machine. After doing that, launch Ukuu GUI by running the following command:
sudo ukuu-gtk
The next step involves choosing the right Linux kernel after Ukuu window populates all the available Linux kernels. The kernels with red Tux symbol are unstable. As shown below, you’ll spot the stable Linux kernel 4.12.
Select the kernel 4.12 and press the install button in the right pane. After doing so, reboot your machine and enjoy the updated kernel.
Method 2: Installing kernel 4.12 using packages from kernel.ubuntu.com
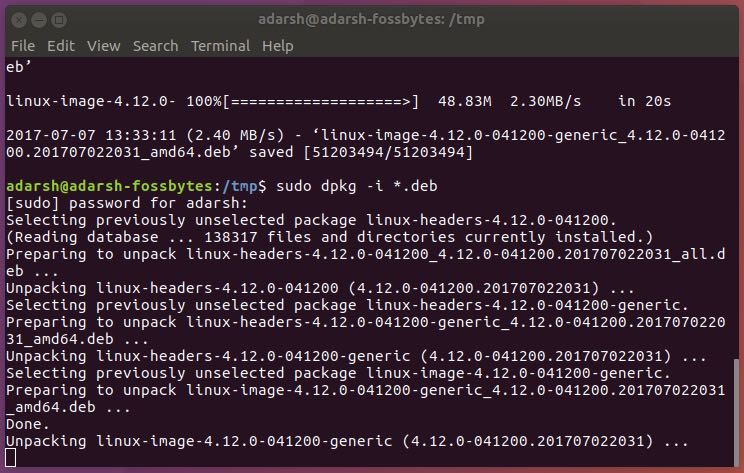
- The first step in this method is downloading the .deb kernel packages from kernel.ubuntu.com using Terminal. To do so, launch a Terminal window and run the following commands one by one for 64-bit machines:
cd /tmp/
wget http://kernel.ubuntu.com/~kernel-ppa/mainline/v4.12/linux-headers-4.12.0-041200_4.12.0-041200.201707022031_all.deb
wget http://kernel.ubuntu.com/~kernel-ppa/mainline/v4.12/linux-headers-4.12.0-041200-generic_4.12.0-041200.201707022031_amd64.deb
wget http://kernel.ubuntu.com/~kernel-ppa/mainline/v4.12/linux-image-4.12.0-041200-generic_4.12.0-041200.201707022031_amd64.deb
2. For 32-bit systems, run the following commands one by one:
cd /tmp/
wget http://kernel.ubuntu.com/~kernel-ppa/mainline/v4.12/linux-headers-4.12.0-041200_4.12.0-041200.201707022031_all.deb
wget http://kernel.ubuntu.com/~kernel-ppa/mainline/v4.12/linux-headers-4.12.0-041200-generic_4.12.0-041200.201707022031_i386.deb
wget http://kernel.ubuntu.com/~kernel-ppa/mainline/v4.12/linux-image-4.12.0-041200-generic_4.12.0-041200.201707022031_i386.deb
3. Now install the .deb packages using the following command on your 64-bit or 32-bit machine:
sudo dpkg -i *.deb
4. After that, you need to update GRUB. If you have BURG, then it should be updated:sudo update-grub
sudo update-burg
5.After completing all these steps, close all applications and restart the computer. By running the following command, you can check the installed version of Linux kernel:
uname -r


By using any of the two methods mentioned above, you can update your Linux kernel in Ubuntu or Linux Mint. Don’t forget to share your experiences with us.