
Here I am going to tell you how to install Windows 10 IoT on our beloved Raspberry Pi 2. Microsoft has brought the easiness and power of Windows operating system to Raspberry Pi 2. We all know that the Raspberry Pi 2 is a $35, credit-card sized computer that can be plugged into a monitor or TV and used with a standard keyboard and mouse.
On its GitHub page, Microsoft has provided the links and instructions for installing Arduino, Raspberry Pi, Galileo, and MinnowBoard. Links of images used for downloading. So without wasting much time, let’s proceed further with our tutorial on how to install Windows 10 IoT on Raspberry Pi 2:
Step 1:
What do you need for installing Windows 10 IoT on Raspberry Pi 2? (A checklist)
- A computer running Windows 10.
- A Raspberry Pi 2.
- HDMI cable ( if display is desirable).
- An 8GB Class 10 micro SD card or better.
- Ethernet cable.
- A 5V USB power supply with at least 1A current (more like >2A for several other USB devices)
Get complete Raspberry Pi 2 starter kit here.
Transferring Windows 10 IoT Core Insider Preview Image on SD Card:
Follow the instructions below to put the Windows 10 image on your card. This should be done on a PC with Windows installed on it physically.
- Download the ISO for the Raspberry Pi 2 from the Microsoft Download Center.
- Save the ISO to a local folder.
- Double click on the ISO (IoT Core RPi.iso). It will automatically mount itself as a virtual drive so you can access the contents.
- Install Windows_10_IoT_Core_RPi2.msi. When installation is complete, flash.ffu will be located at C:Program Files (x86)Microsoft IoTFFURaspberryPi2
- Eject the Virtual CD when done.
- Insert a micro SD card into your SD card reader.m
- Use IoTCoreImageHelper.exe to flash the SD card. Search for “WindowsIoT” from start menu and select the shortcut “WindowsIoTImageHelper” (search the program in Start Menu)
- The tool will enumerate devices as shown. Select the SD card you want to flash and then provide the location of the ffu and flash the image.
- Click on the Safely Remove Hardware icon in your task tray and select your USB SD card reader to safely remove it from the system.
Now it’s time to insert the SD card in Raspberry Pi 2: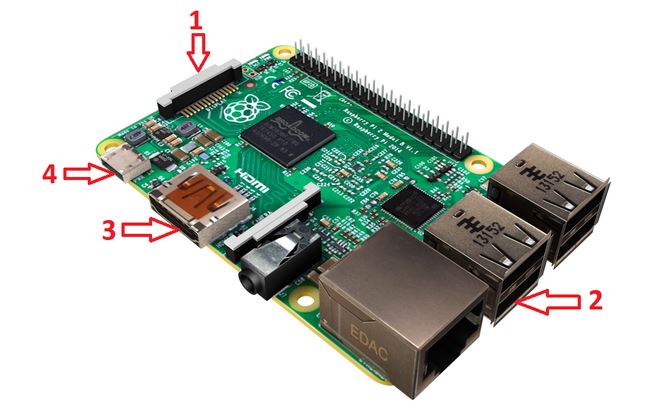


- Now insert the SD card loaded with Windows 10 IoT image as shown below.
- Connect network cable to the Ethernet port.
- Connect HDMI monitor to the HDMI port.
- Connect the power supply to the micro USB port.
How to boot Windows 10 IoT Core Preview:
- The Windows 10 IoT image in your Raspberry Pi will automatically boot after switching on the power supply.
- Just like the usual Windows booting, you will be greeted with a blue Windows logo followed by a black screen for about 2 minutes.
- The Pi will now reboot to a blue-screened window with “MinWin” written on the top. Again you will have to wait for a long time.
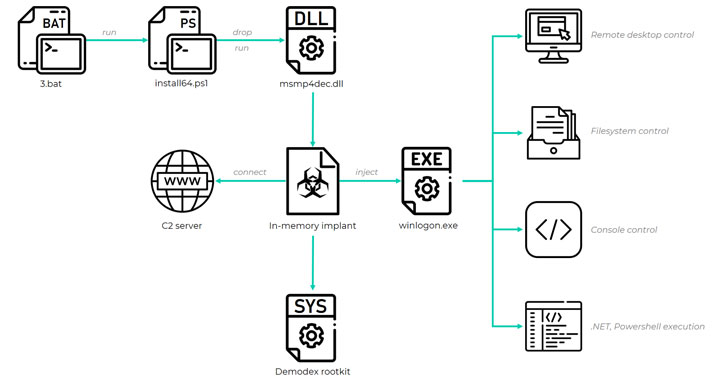
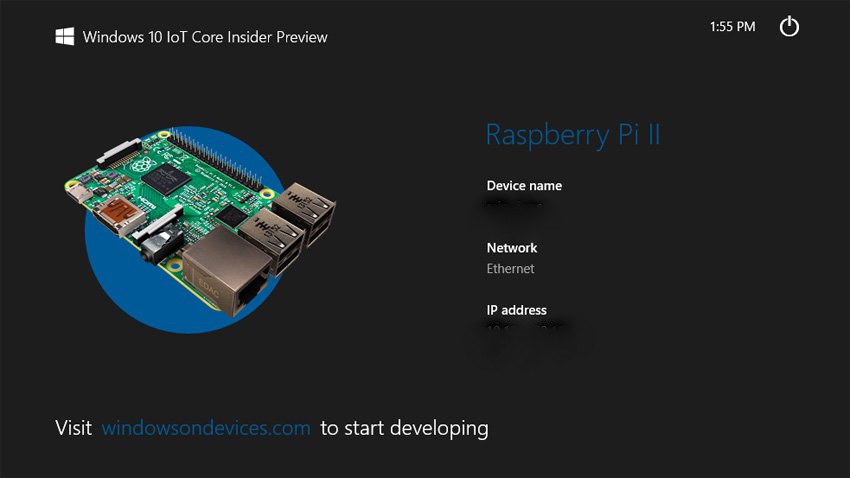
- Finally, the Pi will reboot for the second time to display the DefaultApp, displaying your Raspberry Pi’s IP address.
- Follow the PowerShell documentation here to use PowerShell to connect to your running device. You can also follow the instructions here to use SSH to connect to your device.
- It is highly recommended that you update the default password for the Administrator account. To do this, issue the following commands in your PowerShell connection: Replace
[new password]with a strong password:net user Administrator [new password]Once this is done, you’ll need to re-establish the current session using enable-psSession with the new credentials.

Given the historical that Microsoft and open source don’t go along well, this release of Windows 10 for IoT devices is surely appreciable.
I hope you found this how-to guide on installing Windows 10 IoT on Raspberry Pi 2 helpful. If you faced any problem, tell us in comments. If you’ve made some cool project or intend to make one in future using the Raspberry Pi 2, do tell us, we’ll be happy to feature it.
Get Raspberry Pi Hacker Bundle at 93% off.