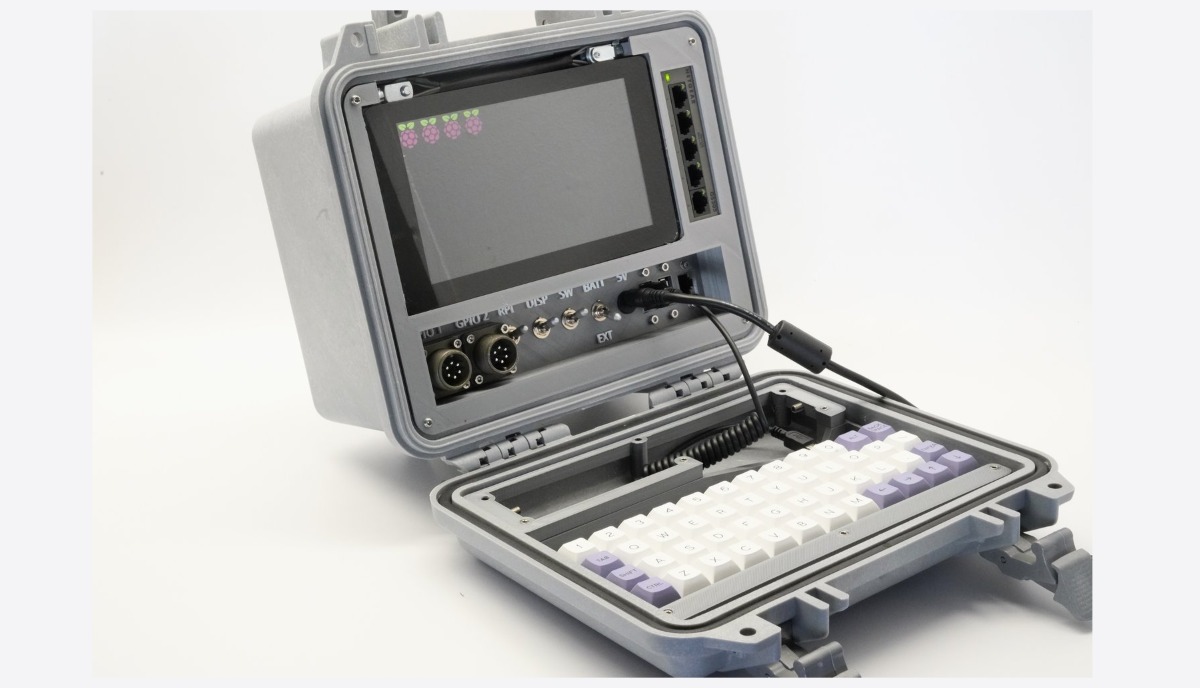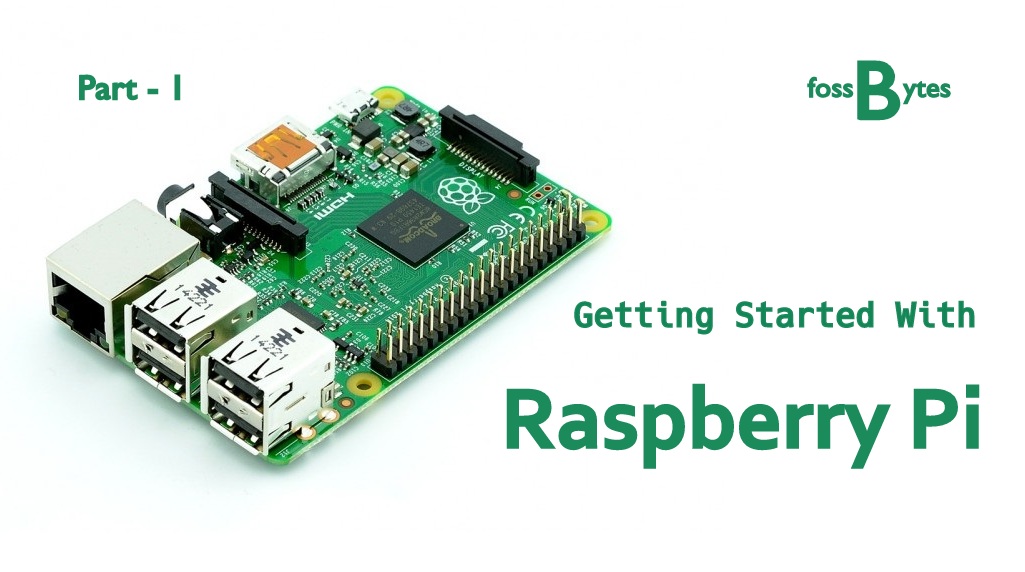

Short Bytes: The credit-card-sized Raspberry Pi was released long back in 2012 and it has grown to become one of the most popular platforms for the developers. This low-cost computer plugs into a monitor and using a standard keyboard and mouse, you can operate it like a regular PC. In part 1 of Getting Started With Raspberry Pi series, I’ll give you detailed information about the Pi and its capabilities.
The Pi is developed by the Raspberry Pi Foundation, which is a registered charity in the UK and aims to promote the study of science and other topics. Raspberry Pi is manufactured and sold in partnership with different worldwide industrial distributors and various communities exist to promote technical discussions and related information.
Let’s tell you about the Pi and its specifications.
Different versions of Raspberry Pi:
The original Raspberry Pi 1 Model A was released on February 2012 followed by Raspberry Pi 1 Model A+ in November 2014. Other versions are Pi 1 Model B and Pi 1 Model B+. The latest version is Raspberry Pi 2 Model B that costs $35.

The different versions of Pi come with different hardware and performance capabilities described ahead. Well, Raspberry Pi 2 is the one most popular and used for most projects and we’ll be using the same in subsequent tutorials.

Raspberry Pi Hardware:
Raspberry Pi hardware has grown in its journey and features various versions with different processor capacity, memory and device support. Here’s a block diagram for models A, B, A+, and B+.

The original and first Raspberry Pi included a 700 MHz processor and came with 256MB RAM. The first generation model provided graphics capabilities of the Raspberry Pi equal to that of 2001 Xbox. The latest Raspberry Pi 2 chip came with a quad-core Cortex-A7 900 MHz CPU and 1GB RAM. GPU in Pi 2 remains the same but processor runs 4-6 times more powerful than its predecessor.
Pi 1 Models A and A+ didn’t have a USB hub and Ethernet. For connectivity, Raspberry Pi 2 comes with Ethernet interface up to 100Mbps. You are also provided with 4 USB 2.0 ports in Pi 2 Model B.
Raspberry Pi 2 doesn’t have its onboard storage. So, you need to bring your own SD card with your OS image loaded onto it. Note that you should a class 10 SD card for this purpose. The Pi is powered by a micro-USB and you are recommended to use a wall socket for a steady supply.

If you are familiar with Arduino, you would be aware that you can connect other boards that add various switches, sensors, controllers, LEDS etc. Raspberry Pi too is expandable and you can add modules like camera add-on or mini LCD displays.
Recently, the Pi Foundation released an official touch display for Raspberry Pi. Use of a display is recommended if you feel the need, but you can connect it over the network to another computer using the Terminal command SSH or Putty on Windows. Note that the default username and password for doing this is pi and raspberry respectively. After logging in, you can access the Pi without a monitor, mouse and keyboard.

Raspberry Pi Software:
Primarily, Raspberry Pi uses Linux-kernel based operating systems. The official operating system is a version of Debian Linux called Raspbian. The new Raspberry Pi 2 also supports a stripped version of Windows known as Windows 10 IoT core. Pi 2 supports a long list of operating systems and we’ll be discussing more about them in the follow-up articles.

Raspberry Pi is a versatile piece of engineering that could be used in different DIYs. You can make your own anonymous Tor router, music player, radio, personal VPN, personal web server, connect it to your DSLR and the list goes on. This pocket-sized dream DIY computer can help you to create many amazing things.
What’s next?
For getting started with Raspberry Pi, you need to buy the appropriate parts like Raspberry P board, SD cards, USB power supply cable and other little things. In the next part of Getting Started With Raspberry Pi, I’ll be telling you about all the components you need, where to buy them, and subsequently how to get the things done.
Get The Complete Raspberry Pi 3 Starter Kit at fossBytes Store.