Gnome is one of the most popular and most used desktop environment for Linux systems . It is a desktop environment which is composed entirely of free and open-source software and targets to be cross-platform, i.e. run on multiple operating systems, its main focus being those based on the Linux kernel.
If you don’t have Ubuntu installed and are looking for installing it with gnome desktop environment instead of default Unity, then click here to install the ISO . But for those of you who are using Ubuntu 14.04 LTS or any other version , and you need to install Gnome 3, then type this in terminal –
sudo apt-get install gnome-shell
This will take some time depending upon you internet speed . After the downloading is done, it will ask you for your default desktop manager (login screen which appears at the time of boot). You can choose “gdm” if you want to go for the Gnome desktop manager otherwise choose the other one.
This will download all the essential packages that you will need. But still there are some extras that you can use . It’s entirely up to you if you want to go for them.
sudo apt-get install gnome-weather gnome-music
 gnome-maps gnome-documents gnome-boxes
 gnome-shell-extensions gnome-tweak-tool gnome-clocks
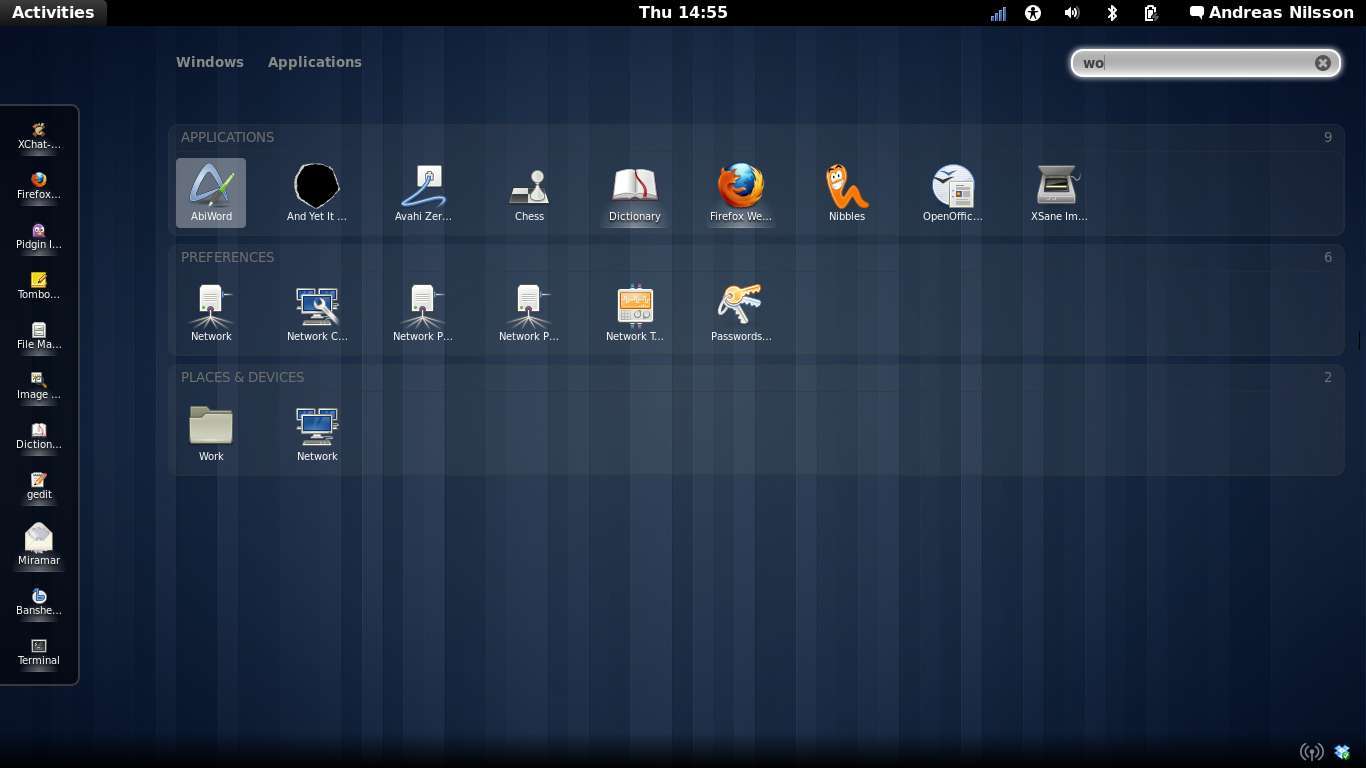
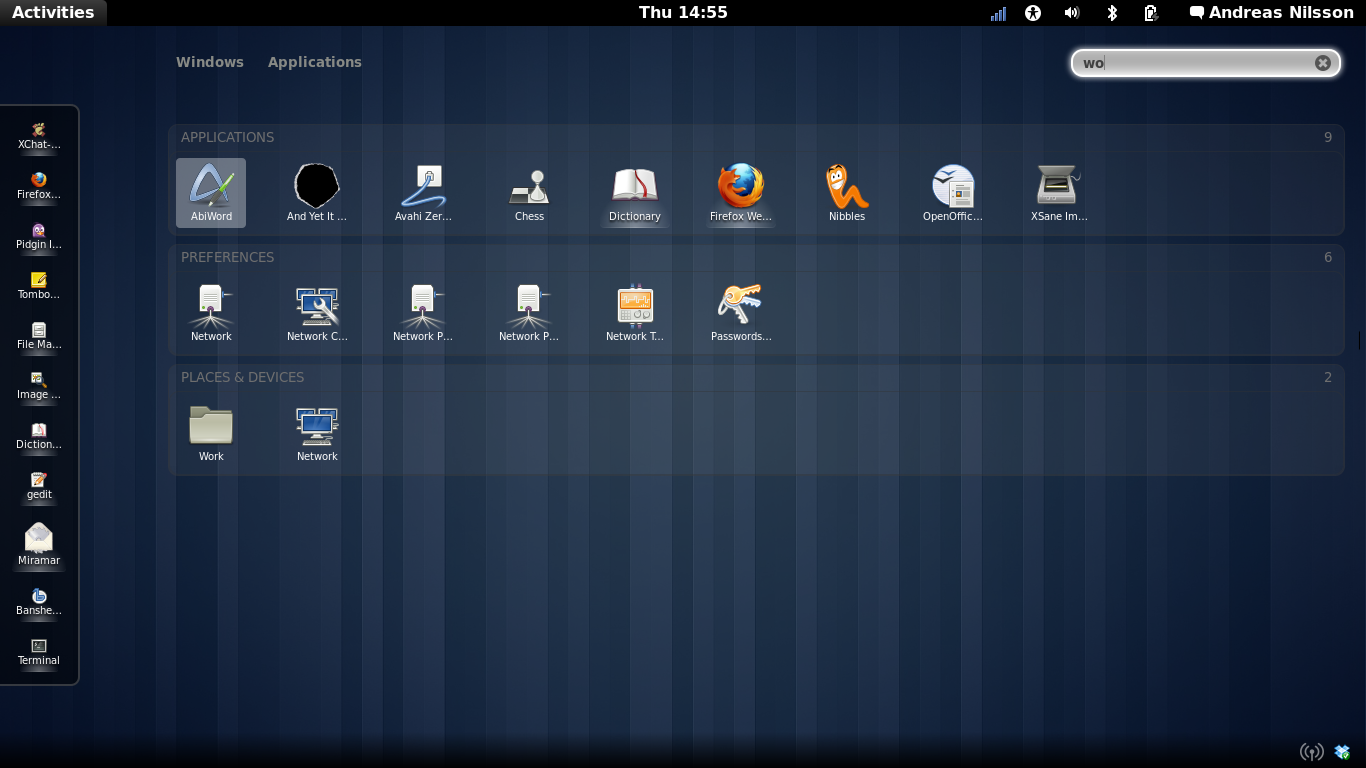
So your Gnome is installed. If you want to see how it looks then simply logout and login again with the Gnome 3 marked.
Happy Customizing!!
Update: Ubuntu 14.04.2 LTS Released with 3.16 Kernel and Updated Hardware Support