Just like the human body, our PCs need protection as well, which is why experts recommend having anti-virus installed on the system.
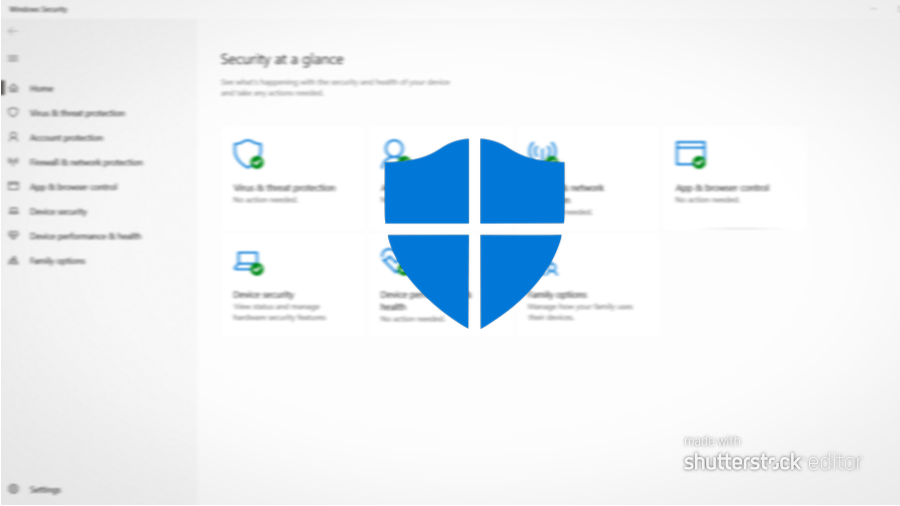
But sometimes, these antivirus software can be a mess for a lot of reasons; top-most being, they use up an extreme amount of memory. Thus, weakening our system or crashing them from time to time. Among some of the best antivirus software out there, Windows comes pre-installed with one called Windows Security, a.k.a, Windows Defender.
Windows Defender, previously known as Microsoft Security Essentials, is the company’s own anti-virus which comes inbuilt. Unlike other all-in-one antivirus software like Kaspersky or Noton Security, Windows Defender lacks some important features like web monitoring, protection against new malware outbreaks, and much more.
I know people have a lot of reasons to disable Windows Defender but it’s 2019 and Windows Defender is not the way, it used to be.
Is Windows Defender Good Enough?
Microsoft knows about the issues you face and regularly keeps improving the software. For instance, the German Lab AV-Test itself found a radical improvement in the performance of Windows Defender, in 2018.
Not only that, recently, Windows added sandboxing ability to the defender making it the first one to do so. Sandboxing, in simple words, doesn’t let malware spread to other applications if it has captured one major application, as in this case – Windows Defender.
All in all, Windows built-in antivirus is a keeper, if it comes to me. However, as I mentioned earlier, there are hundreds of reasons for you to disable Windows Security. Maybe you want to disable Windows Defender temporarily, or the antivirus might repeatedly flag some of your system applications.
In that case, here are two ways how one can disable Windows Defender on their PC. Let’s tell you about them —
How to permanently disable Windows Defender in Windows 10 [Using The Registry]
You can disable Windows Defender via editing the Windows Registry. The process is very simple but do bear in mind — Windows registry is like a minefield. One wrong step and you can cause a million more issues. Therefore, I will recommend you to keep a full backup of your files and folders, at all times.
Now, getting to the method –
- Open the Run prompt using Windows Logo Key + R on the keyboard
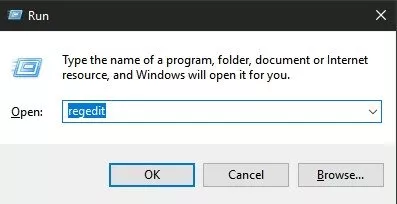
- Type Regedit in the search bar and click OK to open the Windows Registry Editor
- Copy the following path (without the inverted commas) on the Registry search bar – “HKEY_LOCAL_MACHINESOFTWAREPoliciesMicrosoftWindows Defender”. Alternatively, you can manually browse the path as well.You will see a file named “default” on the right windows panel.
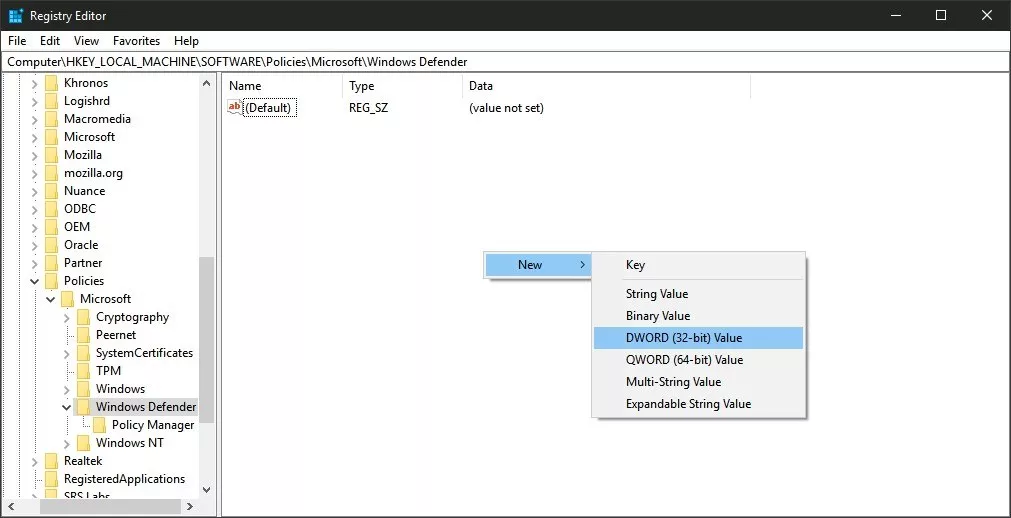
- Now, right-click on the same window pannel ⇒ New ⇒ DWORD (32-bit) value
- Name the key “DisableAntiSpyware” and press Enter.

- After creating the file, double-click on it and set the value from 0 to 1. Click OK
- Restart the PC.


That’s it! You have successfully disabled the Windows Defender on your desktop. Now the process won’t show up on Task Manager. It’s Microsoft’s pet software. Therefore, Windows doesn’t let you uninstall Windows Defender on Windows 10, but with the above method, you can at least disable it.
On the other hand, if you had a change of heart, the Windows Defender can be brought back as well.
How to turn on Windows Defender in Windows 10 –
- Head back to the same address on the Windows Registry Editor
“HKEY_LOCAL_MACHINESOFTWAREPoliciesMicrosoftWindows Defender” - Right-click on the newly created DWORD file
- Click on Delete.
- Close the Registry Editor and restart the Windows.
How to temporarily disable Windows Defender in Windows 10 [System Settings]
If you’re in a hurry and want to disable the heavy processing program immediately, you can skip the Windows Registry process and just stop Windows Defender via the Windows Security Center.
- Type “Virus and Threat Protection” in the Windows Search.
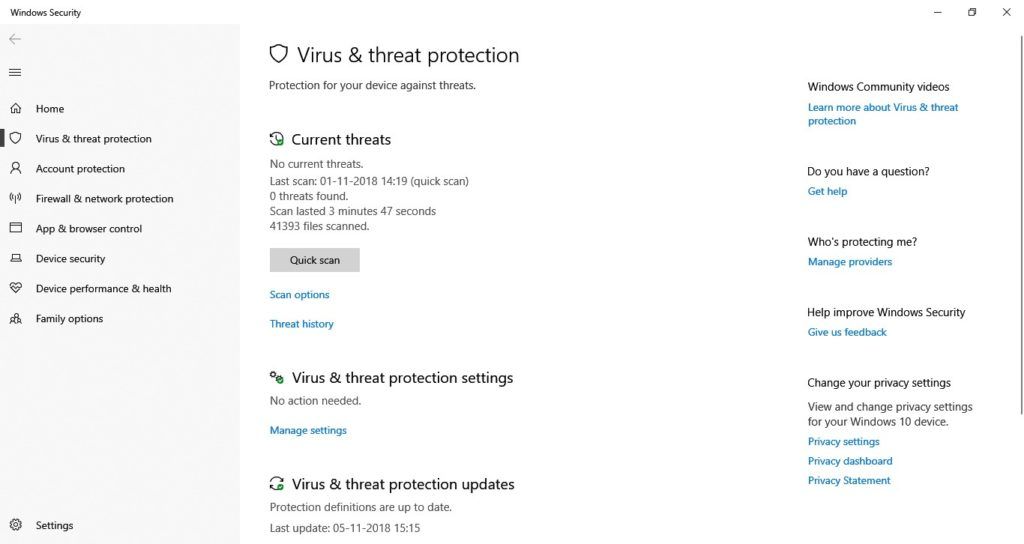
- Click on “Manage settings” under Virus and Threat Protection settings.
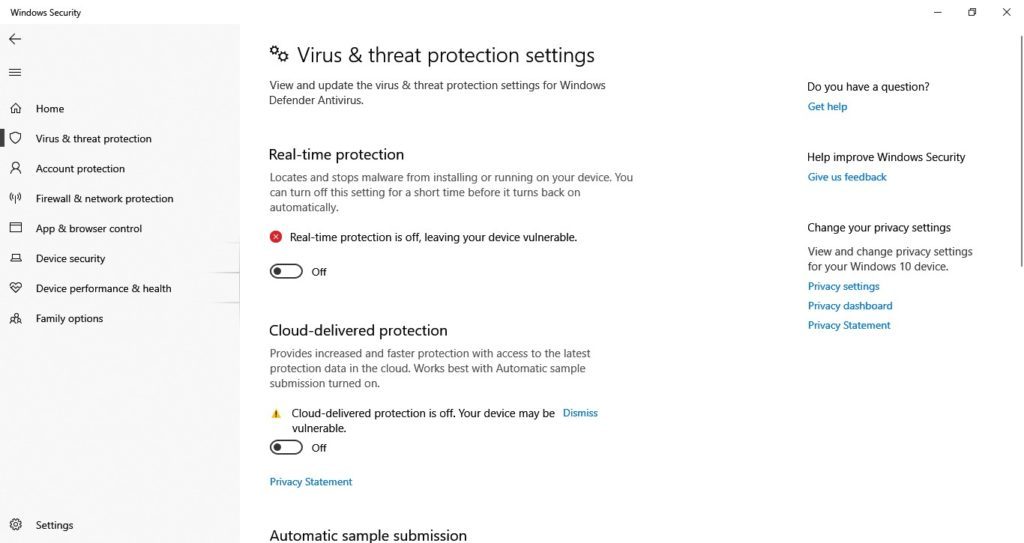
- Turn off the following settings –


- Real-time Protection
- Cloud Delivered protection
- Automatic Sample Submission
This method will temporarily disable Windows Defender in your Windows 10. However, this ridiculously easy technique to disable Windows Defender comes with a small drawback – Windows 10 automatically re-enable Windows Defender in the next login. In other words, everything gets back to normal after you restart the computer.
Endnote
If your motive behind disabling Windows defender is to install a different antivirus, then don’t bother at all. Windows automatically turns off Windows Defender real-time protection once it recognizes another security program on the desktop.
Meanwhile, if you are confused whether you should remove Windows Defender or not, install Malwarebytes — plain and simple. Malwarebytes, working with Windows Defender is one of the best ways to secure your computer from virus and malware.
While Windows Defender is good in giving real-time protection and manual scanning, Malwarebytes excels in recognizing and targeting new malware that might plague your PC.