WordPress websites are very common now. The WordPress CMS is immensely popular and it’s easy to use as well, even for beginners.
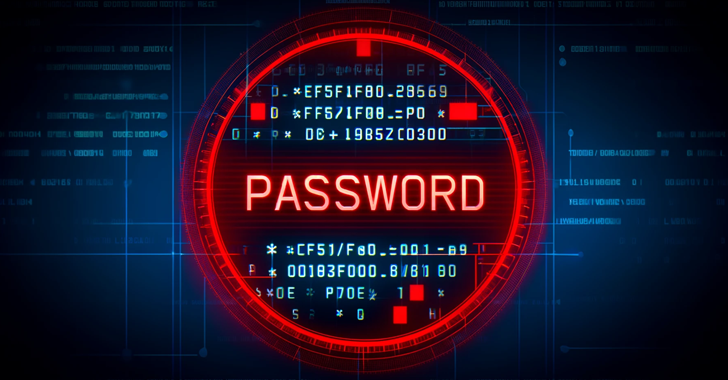
However, WordPress security is an area that many users tend to take rather callously. Remember, you can’t just get a website done, go on updating it and sit back and take rest. You need to keep working, to ensure that the WordPress website you have set up is secure. You must keep working constantly, because despite all the precautionary measures we take, our WordPress website might get compromised and malware might play havoc with the website security and data. So, what do you do if by any chance your WordPress website gets infected? It’s easy, you can remove the malware very easily… Here’s a plan, an easy, ten-step plan which would help you get rid of the malware on your website:
Step 1: Begin by scanning your website
When you realize that your WordPress website could be infected, the very first thing you need to do is scan the site. This is because symptoms could be misleading. The symptoms that tell you that your website might be hacked could indeed be misleading. Your website might not have been hacked at all. So, run a scan to ensure if it really has been hacked. Sometimes, the symptoms could be vague and sometimes you won’t even know that your website has been hacked. Hence, it’s advisable to periodically scan your website. You can either use a WordPress security plugin to help scan your website or go for a scan on any online scanning website.
Step 2: Ensure you have a backup
This is of utmost importance. Before you proceed further, ensure you have a comprehensive backup of your website.
Well, having a backup is basic to cybersecurity. You must be having a backup, which is periodically updated. If you have such a backup,
update it; if not, back up your current website. For this also you have some plugins which can be used easily.
Anyhow, it’s always best to have a backup done, at least once a month.
Step 3: Check the backup files
Before you proceed with the malware removal process, examine the backup files to assure that the website backup is free from malware. You also need to make sure that no data is missing. If you find anything amiss, get it from another source file and keep it ready. By any chance you don’t have another copy of the missing file, you would have to work on it again. You can always seek the help of your hosting provider as well.
Step 4: Format WordPress Folder
Login to your cPanel, go to the location where your WordPress is installed and delete all WordPress files. Remember, WordPress files would mostly be in the public HTML folder. Still, if you have saved them in any other location, go there, choose the files and delete them.
Step 5: Now re-install WordPress
Re-install WordPress. You can do this by contacting your hosting provider or by logging in to your hosting account. There, you need to select the WordPress tools tab, wherein you much fill in your admin name, password and all other details that are required. Verify the details once again and click on ‘Install WordPress’ and then click ‘Refresh’ on the next screen.
Step 6: Remember to change your password
During the installation, you would need to give a password. It’s always good to go for a new password. Remember, your website has already been hacked and that’s why you are following this procedure. The hacker might be knowing the previous password, and hence go for a new password. Remember, always go for a strong password, which would be
a mix of upper and lower case alphabets, numbers and special characters. If you had forgotten to change the password, you can do that by choosing the reset password option.
Step 7: Re-install the themes & plugins
Your website would now be on the default twenty-seventeen theme. You could re-install your original theme or go for a fresh one. Well, if you are restoring your website from your backup, you’d be having the original theme and plugins. You could also go for a new theme and re-install plugins as well.
Step 8: Now, restore your backup
Using the same plugin which you had used to back up your website, recover the website from the backup.
Step 9: Scan your website again
This is important; you need to ensure that your website is completely free from malware. So, go for a scan once again, using any of the plugins or any of the websites available online.
Step 10: Submit website for Google review
Once you have restored your website and scanned it, submit it for Google review to get the warning message removed. Just log on to your Google Webmaster account, select your website, go to ‘Health’, then go to ‘Malware’ and then choose Request a review.
Related Blogs And Tools