
Short Bytes: In the second article of Getting Started With Raspberry Pi series on fossBytes, I’ll be telling you about all the big and small components you’ll be needing to get started and how to hook them up.
In the first introductory article, we introduced you to the Pi, its hardware specifications, software and others aspects. In the second article, I’ll be telling you about all the big and small components you’ll be needing to get started and how to hook them up to your Pi. We’ll also be providing the complete starter kit buy links at the end, that’ll help you to order the products.
Let’s get started with Raspberry Pi and know about everything you need:
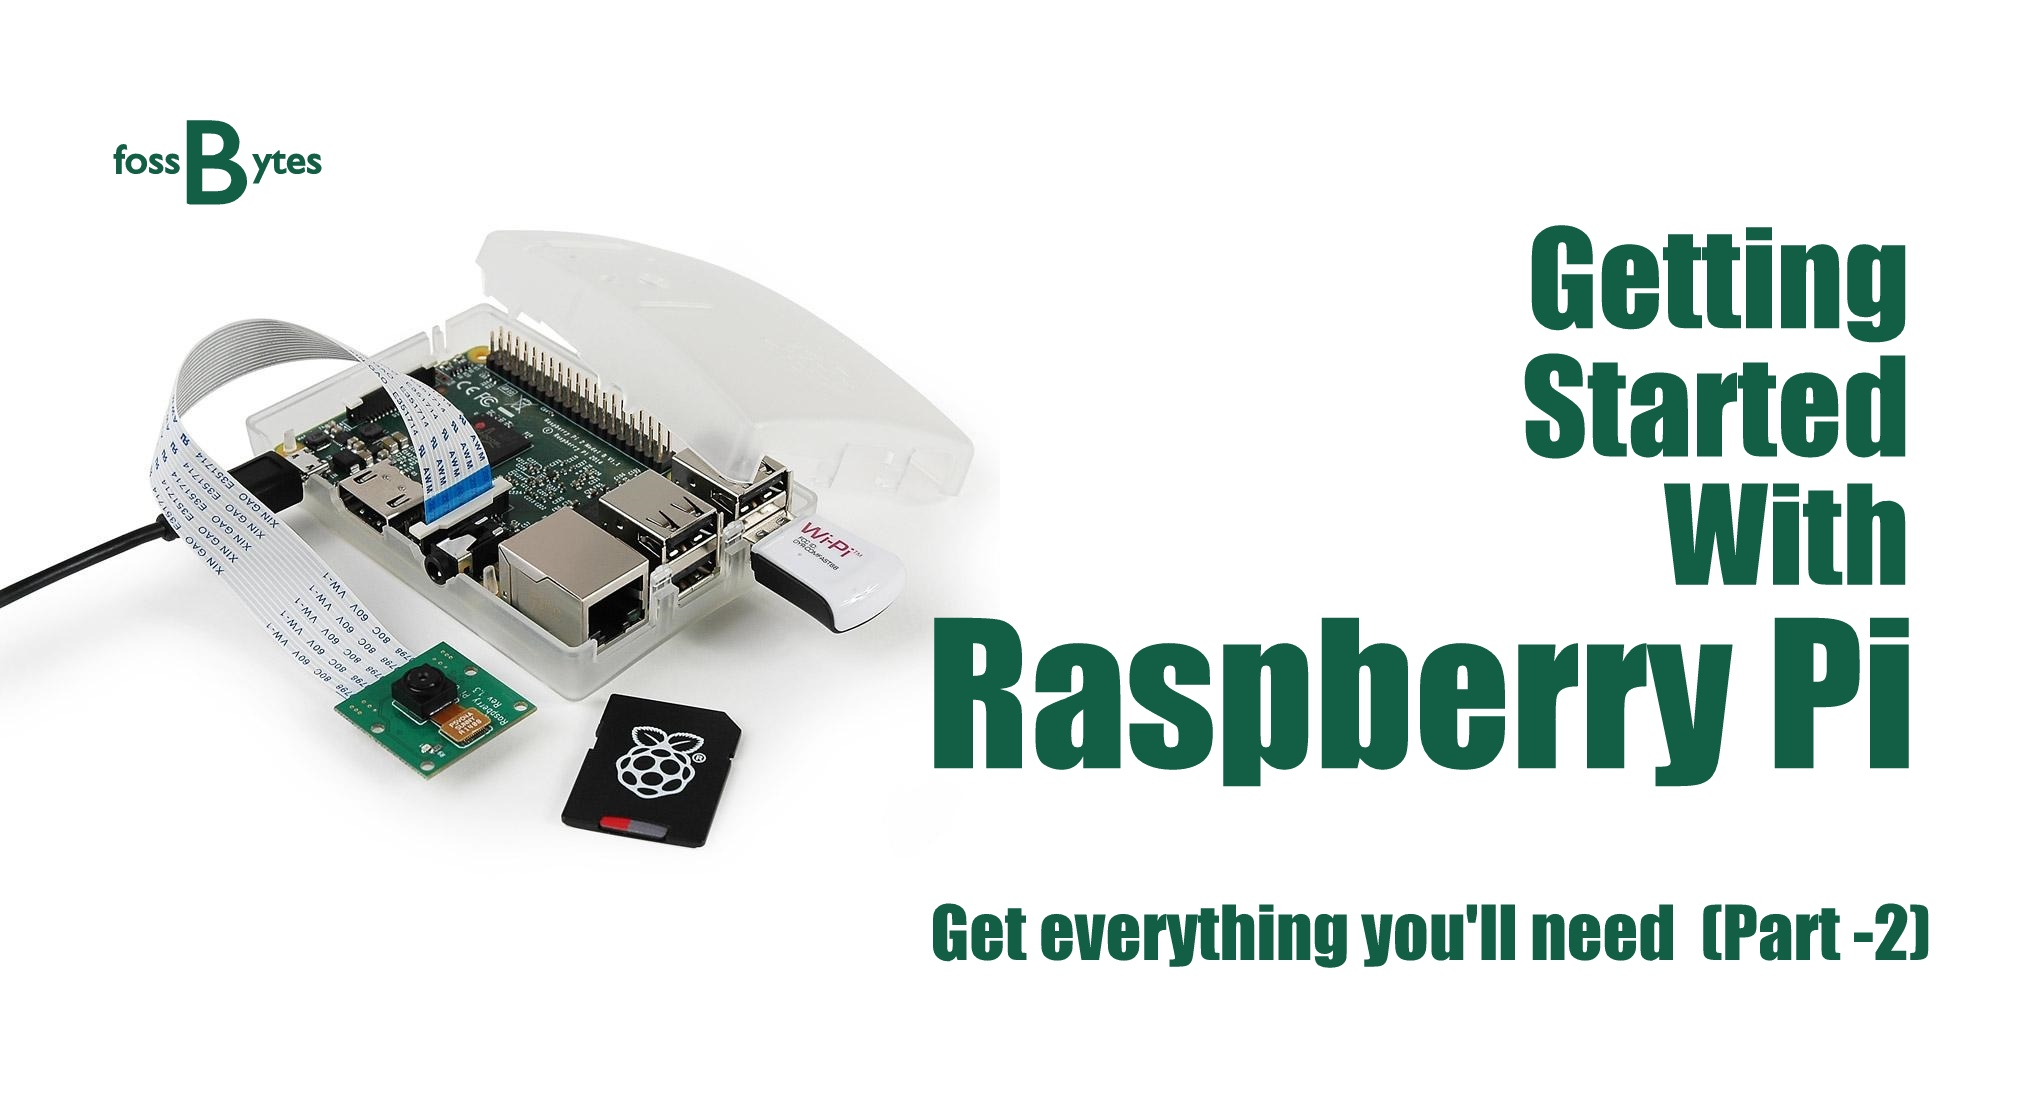
A Raspberry Pi:
This is the first and obvious thing you need to buy. You can buy Raspberry Pi 2 at various online stores. If you need a direct link, here they are: Amazon.com and Amazon.in.

An HDMI cable/composite cable and monitor:
Before you start using your Raspberry Pi, you’ll be needing a display. The Pi supports three types of video outputs: HDMI video, composite video and DSI video. You can easily use HDMI video and composite video as DSI needs a specialized hardware. We’ll suggest you to used HDMI cable as it offers better resolution and built-in sound. You can also use a composite video cable for this purpose.
You’ll also be needing an HDMI or composite video compatible monitor to use as your display device.
An SD Card:
Raspberry Pi doesn’t come with an onboard storage, so you need a blank SD card to flash an operating system onto the card. It’s advisable to use an 8GB card class 10 SD card. In the next tutorial, we’ll be telling you how to flash your card with an operating system.
A USB mouse and keyboard:
To navigate in the OS, you’ll be needing a USB mouse and keyboard. You can use any standard wired or wireless keyboard and mouse with the Pi.
A 3.5 mm stereo audio cable:
You’ll be needing this to connect your Pi to external speakers only when you’re using analog video. If you’re connecting the Pi using an HDMI cable, you don’t need this.

A micro USB power supply:
All the modern phone chargers supply 700mA at 5V and it would be enough for providing juice to your Raspberry Pi. You can check the charger and read its configurations to avoid problems. You can also buy an external power supply exclusively for your DIY companion.
An Ethernet cable:
If you intend to browse the web on your display connected to the Pi, you can use any standard ethernet cable to connect to the internet.
Where to buy everything?
You can find these items on various online stores. However, here are the links of Amazon giving you the complete Raspberry Pi 2 starter kit at attractive prices: Amazon.com and Amazon.in.
How to connect everything to your Raspberry Pi?
Well, once you’ve gathered everything, this shouldn’t be a problem. Take a good look at the picture below and read the following instructions to connect the desired parts:

First connect your TV or monitor using your HDMI cable. If you are using the analog/composite cable, connect it to the desired port and plug in the speakers to 3.5mm audio jack using your 3.5mm audio cable.
In the familiar Ethernet port, connect the Ethernet cable whose other end should be connected to your router. As I mentioned earlier, this shouldn’t be a difficult task.
Locate the USB ports on your Pi and connect the standard USB mouse and keyboard to get started. Finally, you’ll need to connect your Raspberry Pi to a micro USB power supply using the power adapter. As soon as you’ll connect the power supply, your Pi will automatically boot up.
You’ll also be needing to insert your SD card in the desired slot, but I’ll be leaving that to the next part when you’ll be learning to flash an OS image on the SD card.
Here are the links of Amazon giving you the complete Raspberry Pi 2 starter kit at attractive prices: Amazon.com and Amazon.in.
This is just a basic tutorial telling you about the right components you’ll be needing to do great things with Pi. In the upcoming parts, we’ll be doing a lot more with the Pi.
Get The Complete Raspberry Pi 3 Starter Kit at fossBytes Store.