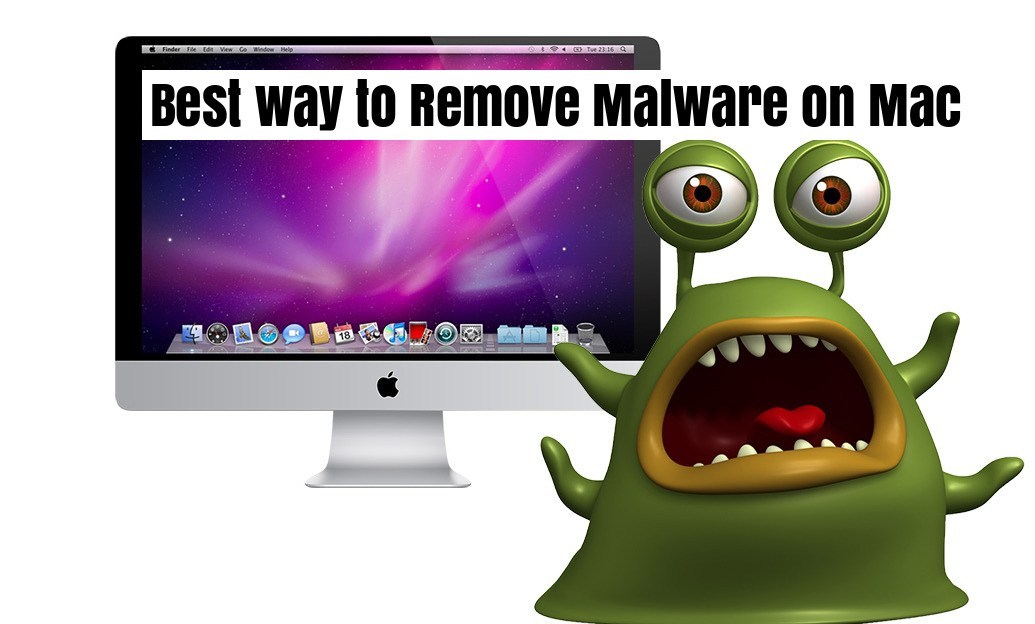
Some Mac apps are so persistent that you can’t use traditional methods to remove them. Even if you do, there will always be some app remnants that clog up your system’s memory and resources. Programs like malware are case in point.
They’re notoriously hard to remove, and even if you get rid of the main program, several files are likely to be distributed around your hard drives that are nearly impossible to track and remove.
So, how do you remove malware on Mac, and how to fully uninstall unwanted Mac Apps? This article talks about this category of apps, why they persist on your system and what you need in order to uninstall them completely.
Known Cases of Mac Malware – Including Other Unwanted Mac Apps
Some apps just won’t quit! If you’ve had any experiences with something like MacKeeper, you’ll see that it’s hard to draw the line between annoying apps and malware. Of course, malware deliberately seeks to sabotage your Mac and possibly even your network-linked devices, but even some popular apps like MacKeeper can be aggressive enough to qualify as malware.
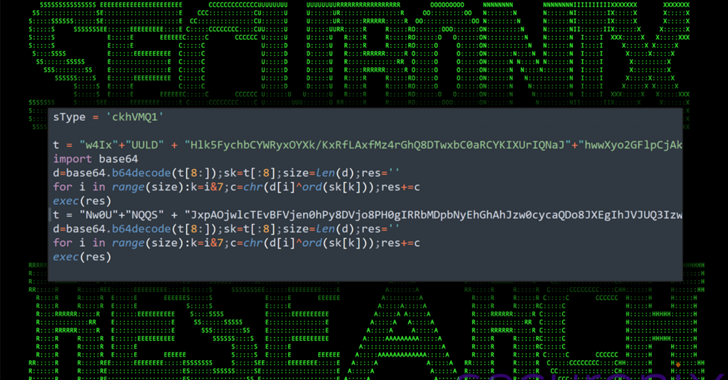
Another candidate from the list of unwanted Mac apps is Advanced Mac Cleaner. One of the ways in which it is distributed is through a fake Adobe Flash Player installer which is a variant of Crossrider / OSX Shlayer, essentially an adware program. Advanced Mac Cleaner then uses Siri to tell you there’s something wrong with your Mac. And a configuration profile that the malware installs in your Mac won’t let you change your Safari homepage.

These known cases of Mac malware can give you lots of headaches if you don’t have the best malware removal for Mac, which is what we’ll be covering next.
What to Know before you Remove Malware on Mac
First of all, you need to understand that malware and unwanted Mac apps cannot be moved by the traditional method of app uninstallation. Normally, you would go to Finder, right-click on the unwanted program, click Move to Trash and then go Empty Trash. This way won’t work with such apps.
The reason is that they leave a lot of files lying around all over your hard drive. These files could be cache files, logs, language files and other system files that the app needs in order to operate properly. Unfortunately, a lot of these files aren’t removed when you uninstall the app in the normal way. That’s why special tools are required to remove Mac malware and other unwanted apps.
Why is TunesBro CleanGeeker the Best Malware Removal for Mac?

Removing malware and other unwanted programs from your Mac often requires root access, which poses the danger of altering system files and disabling your computer altogether. On the other hand, a non-intrusive but extremely comprehensive Mac cleaner app like TunesBro CleanGeeker will weed out anything associated with an app that’s being uninstalled.
All you need to do is install the software and let it do the job for you. The alternative is to do it manually – go into all your directories one by one and look for “orphaned” files and folders downloaded by the app that you no longer need. On the other hand, CleanGeeker will let you do the same thing in mere minutes. Here’s how:
Step 1: Download TunesBro CleanGeeker from the official TunesBro website and install it on your Mac.
Step 2: Once you launch the application, You’ll see an Uninstaller option on the left menu panel. Click on that.

Step 3: The software will scan and list out all the apps currently residing in your Mac. You simply pick out the ones to uninstall and hit the button to proceed.
Step 4: Once the process is complete, you can go in manually and check for yourself – all app remnants will have been deleted.
Use CleanGeeker to Remove App Leftovers on Mac
If you’ve completed the first stage of removing unwanted apps, you may want to consider doing a more thorough cleanup. CleanGeeker offers all the right tools, so your next objective should be to remove remnants of apps that were uninstalled earlier. To do this, you need to follow the steps below:

Step 1:Remove Junk Files – Using apps, browsing and interacting with people online generates a lot of digital junk that ends up clogging your memory. Click on Quick Scan in the CleanGeeker interface and delete all the junk found by the program.
Step 2:Remove Duplicates – Though not related to malware or unwanted apps, this is a useful step. Click the Remove Duplicates tab and then scan the system. CleanGeeker will list out all duplicates and similars. Review, select/deselect and delete them forever. You’ll be surprised by how much space is taken up by duplicate files.
Step 3:Remove Large Files – Most of the time, we don’t need those massive media files to sit around our system. The best thing for these is to back them up to the cloud and clear your local memory. To remove them, click on the corresponding tab in CleanGeeker to see all your large files. If you don’t need them, just select and delete them in bulk.